Removing Stains From Clothing
Basics of Removing Clothing Stains.
How to Remove Clothing Stains
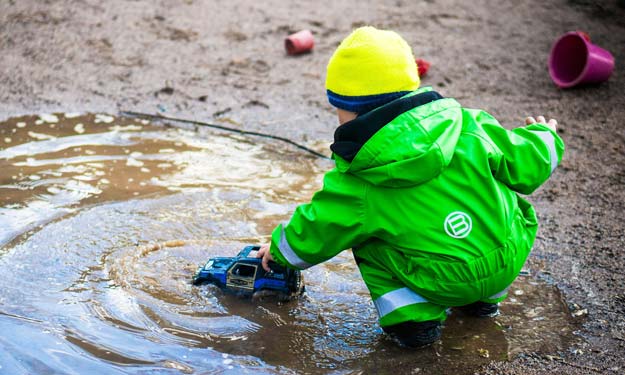
Messes happen, and a lot of the time, our clothes take some damage. Removing stains from clothing isn’t always easy but there are quite a few methods that do work. There are always going to be children that skin their knee, find the mud puddle or somehow end up with more grass on their clothing than there is in the yard. Not to mention the spaghetti that fell off your fork and onto your nice white blouse, or the grease stains from changing the oil in the car. No matter how the stain happened, you can find effective ways of removing it before you throw out any “ruined” clothes.Knowing How to Remove the Stain Is the Trick
When it comes to stains on clothing, you’ll find more success with any stain removal process the quicker you get to it, instead of waiting until laundry day to take care of it. That being said, even when you find a stain on clothing and it’s had time to set in, you can, at times, remove the stain. If you have a stains on dry clean clothing there are a few things you can try, but for now, we’re going over the basics of removing stains from clothing that you can wash.Blot or Scoop
If the stain is a liquid, blot up as much as you can, don’t rub as you can cause the stain to spread. If you’ve spilled something like mustard or jelly, carefully scoop up what you can then blot up the rest with cool water, working from the outside in.Rinsing and Soaking Stained Clothes
After blotting and/or scooping, rinse the stained area with cold or cool water. Never use hot or warm water, especially on stains such as blood, wine or coffee as this will cause the stain to further set in. Once you rinse the stained area thoroughly, soak it in a cold bath of water for 30 minutes or for heavily soiled items soak for at least an hour. You can also add a product like OxiClean or 20 Mule Team Borax while soaking. Read label for instructions and mix it well.Pre-Treating Stains Clothing
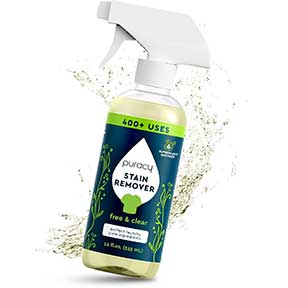
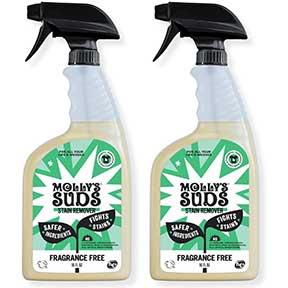
Once the article of clothing is done soaking, if there is still a stain left, apply your method of pre-treatment, many products say to let it sit a few minutes before laundering. If you find yourself in a pinch and without a pre-treat product, you can use liquid laundry detergent, just be sure to follow the manufacturer directions and again, let it sit a few minutes to help pull the stain out.Washing Laundry
Though it’s usually unnecessary, you can rinse out the pre-treatment product after it has sat for the recommended amount of time, see what the manufacturer recommends. Don’t be alarmed if it’s not fully removed at this point.- Follow the care instructions provided by the manufacturer for laundering.
- Do not use bleach if the label on the article of clothing states not to as this may damage the material.
- When you remove clothes from the washing machine, check to ensure the stain has been removed prior to putting it in the dryer.
- If the stain remains, you may have to repeat pre-treatment then wash again. In any case, do not put the item in the dryer until the stain has been removed.
- If you find you have tough stains to deal with, the best products to use that can help remove them are:
- laundry detergents containing enzymes (read the box)
- color safe bleaches (only if allowable per the clothing manufacturer)
- laundry pretreatment products
Removing Stains from Dry Clean Only Fabric
If there are removing stains from clothing that requires dry cleaning, as soon as it happens, if possible, rinse the stained area with cold water to keep it from setting. It’s best if you drop it off with the dry cleaner as soon as you can.Emergency Stain Treatment
- If you’re at work or at a restaurant and a stain happens, follow Step 1 above. After blotting, rinse the stained area with cold water or club soda (club soda can help greatly if it’s a wine stain!).
- If you’re the kind of person that comes prepared, use the stain removal pen you keep in your purse. Follow instructions on package.
- As soon as you can, give the stain further attention by using the stain removal method listed above.
Clothing and Laundry
